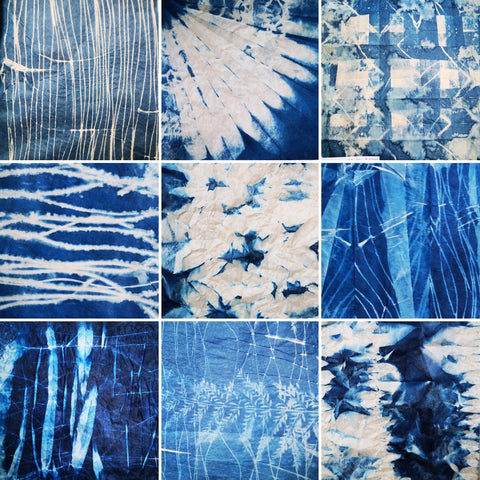
After dabbling with tie dying the tea bag paper treated with cyanotype chemicals and creating some interesting effects (see previous blog post on Cyanotype tie dye) my mind went into overdrive! I researched and trawled google for techniques to try. It's not as simple as just tie dying the paper as the effects are created depending on where the sunlight can reach or not reach and in a heavily folded piece of shibori the only exposed surfaces would be the outsides and the majority would stay white. Here are a selection of the results I achieved this time.
Running stitch
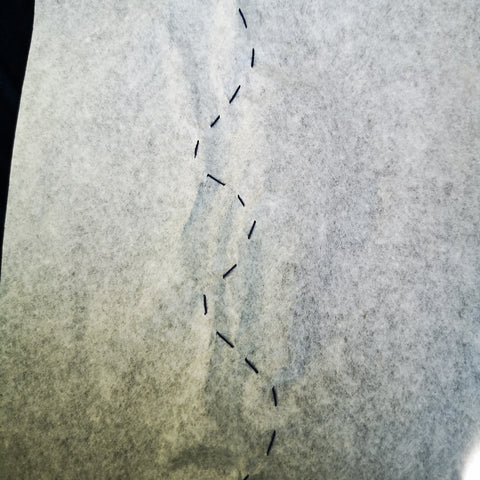
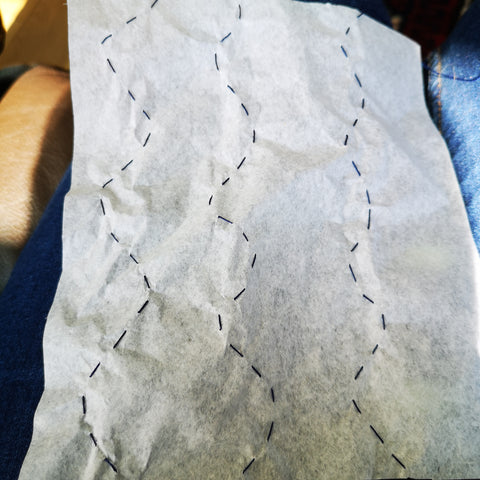
My first experiment was a Shibori technique using a running stitch to gather the paper and make creases. I prepared two untreated pieces of the tea bag paper for this, one with a straight running stitch, top, middle and bottom of the paper and the same but in a wavy line for the other piece.
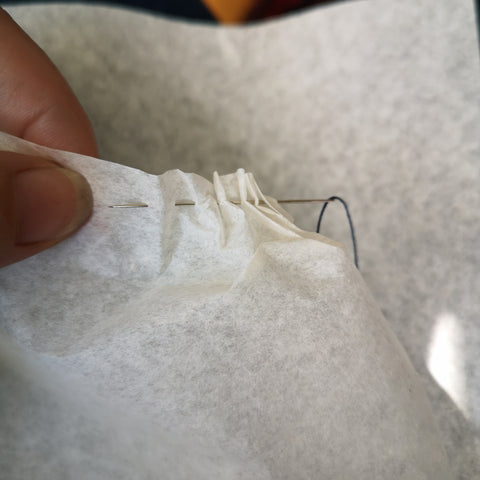
The thread was then pulled tight to gather the paper along the lines.

Cyanotype chemicals were then pipetted onto the teabag paper before leaving them in the sun. They were turned regularly to allow the sun to reach all the exposed surfaces.


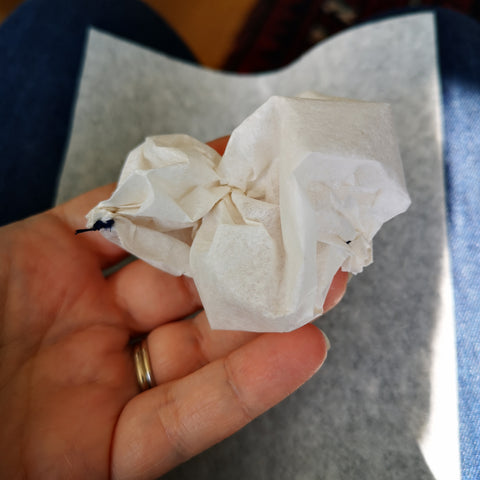
Once fully exposed the stitches were carefully snipped and the pieces run under the water to fix the process. These are the resulting patterns.


The straight running stitch (top) is more uniform in the marks made than the wavy running stitch (bottom) though both have similarities. I will try to do the same again but with treated paper next time.
Wrapping around a tube
I have some really thick cardboard tubes that I used for this technique. 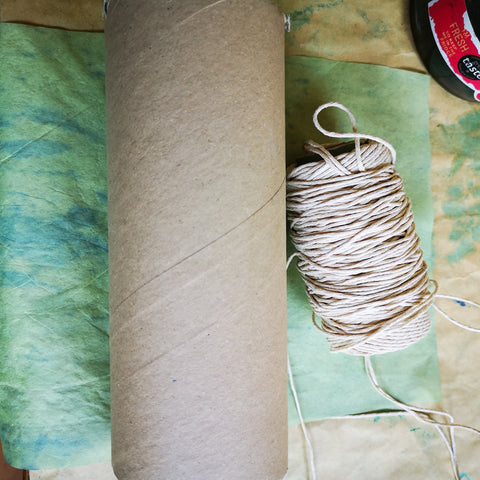
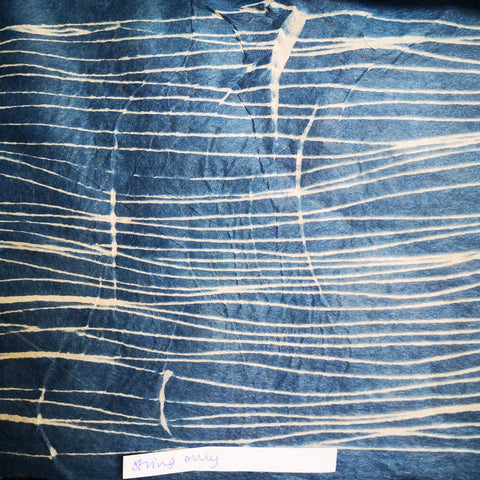
It is a really simple technique where the treated paper is wrapped around the tube and string is bound tightly over the top of it to mask areas from the sun.
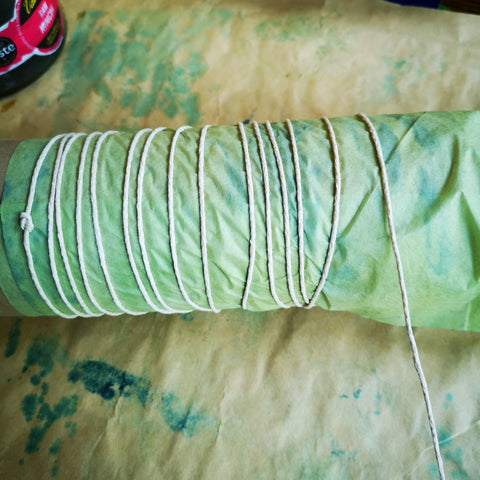
On this one I bound the string uniformly round the tube so that there was very little crossing over. It was then left in the sun and turned so all sides were exposed evenly.
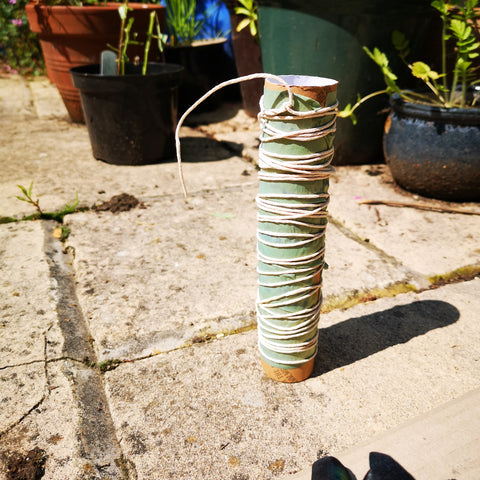
Once all sides were dry and fully exposed (approx half an hour in strong sun) it was removed from the tube and rinsed. This is the final result.
Further tube and string experiments involved the same technique but with variations made.
This one was folded randomly in small creases before being bound to the tube in a less uniform way and then removed from the tube after exposure and given a really short second exposure to make the paler blue rather than white in patches.

Another variation was the same technique but binding a fern leaf to the tube too.

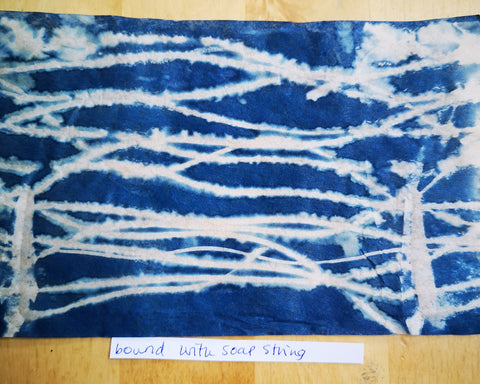
To create this next one the string was dipped in washing up liquid first before binding the paper to the tube.
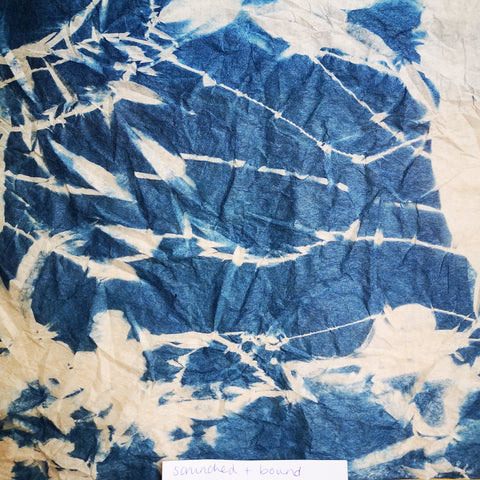
This one was the result of scrunching the paper up a little as it was bound to the tube, this time using rubber bands.
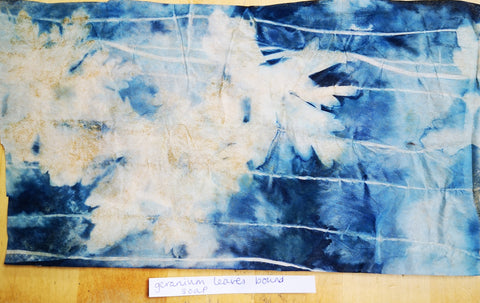
Another leaf bound piece, this time using geranium leaves.
I have lots more to share from my afternoon of tie dying and experimenting but I risk this blog becoming undigestible if I make it any longer so I will follow it up with a second installment instead. The next will involve a few more tube bound pieces involving more complicated folding and some different folded pieces.
If you would like to try these experiments out for yourself and would like to use tea bag paper it is available here in my shop.