More Tube Bound Experiments
Following on from the previous blog post using the tube technique these next few pieces were created using that technique but with various extra treatments and folding applied.
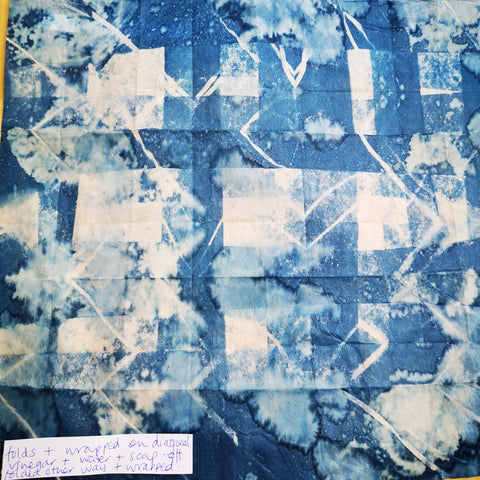
The first used a treated piece of tea bag paper which was folded on the diagonal top middle and bottom and turned to do the same the other way, making a square configuration.


This was then bound to the tube with string and put in the sun to expose. It was squirted with water and had soap bubbles laid on it's folded surface.


It was turned so all surfaces were exposed evenly and once dry it was removed from the tube and washed. This was the result.
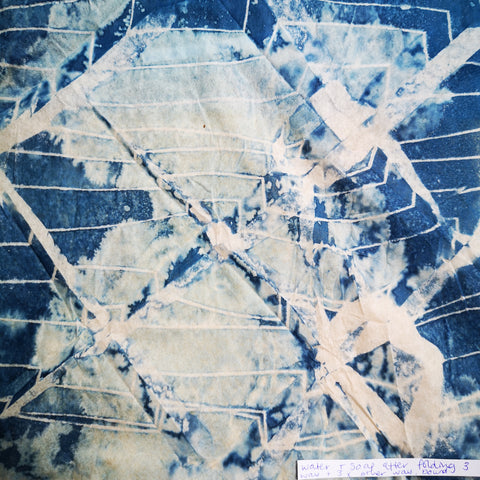
Another folded piece was made by sporadically folding a treated piece of tea bag paper along it's length. The folds were made so they weren't right on top of each other so paper was exposed between them.

It was bound with rubber bands to the tube before being squirted with water and dripped with white wine vinegar and left to expose in the sun on all sides.
Once it had exposed it was removed from the tube, unfolded and then folded back the opposite way in the same spaced out fashion. It was then rebound with rubber bands but this time on the diagonal and put out for a second exposure. Once exposed for approx 15 minutes on all sides it was removed and rinsed. This is the final result.
The last of the tube bound pieces is a little more haphazard and less measured! I treated a piece of paper with wet chemical and didn't allow to dry before binding to the tube with it bunching up and wrinkling a bit.
At fairly regular intervals I dropped more of the cyanotype chemicals on to it. This is why it ended up so dark. Just after removing from the tube it was opened out and given a further one minute in the sun to lightly colour the unexposed sections.

Folded pieces
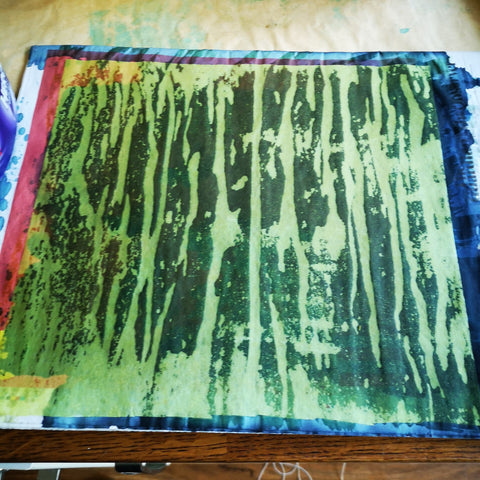
Looking at various simple shibori tutorials I thought I would try a folded piece. Obviously the inner sections wouldn't get light but I may be able to flare the folds a little to expose a little more than the edges. So I concertina folded a treated piece of tea bag paper and bound it with rubber bands at regular intervals.
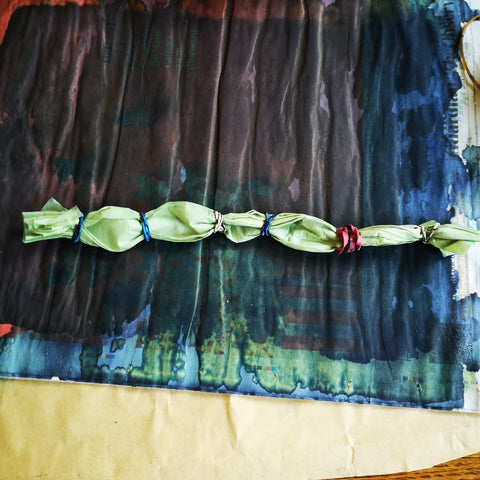
After exposing it in the sun on both sides and on it's edges I unfolded it.
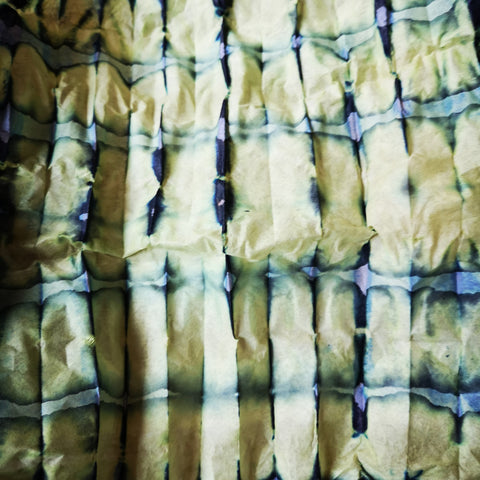
It was beautiful with it's stripes and pale green but I knew that the green would wash out to be white so I gave it a second exposure, just a quick blast.

It's a shame it couldn't stay like this! After rinsing this is what it looked like, the quick blast was too quick and a longer second exposure would have created some pale blues.
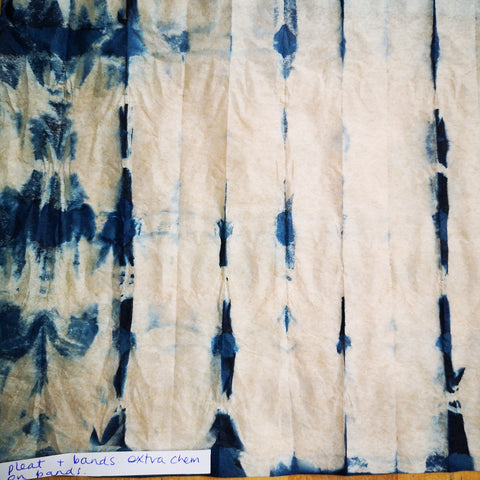
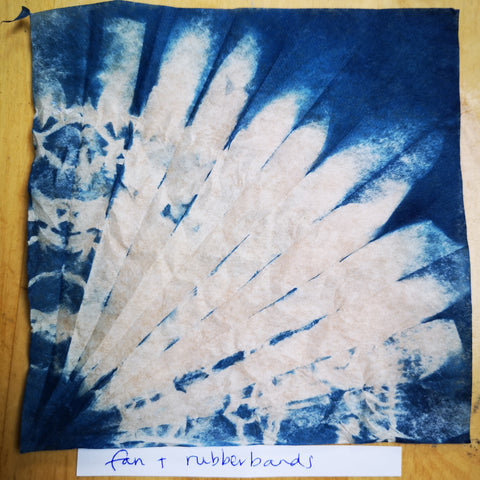
My final folded piece used a small piece of square tea bag paper which I folded in a fan shape, narrow at the bottom corner and flaring to the top. I secured with rubber bands but flared the top open more to let the light penetrate the shape a bit more. After exposure and a final rinse this was the outcome.

I have had a great time and a productive time trying out all these methods and making up my own variations or adapting the process to get the most from the techniques. I hope you will have a go and try your own adaptations too. That's the beauty of cyanotype, there are so many variables that can bring about a whole variety of outcomes. If you want to share them with me I'd love to see, just tag me on instagram with @nimanoma
If you'd like to buy some tea bag paper to make cyanotype tie dyes with please visit my online shop here.
