
A UV bed or UV box can be a valuable tool for cyanotype enthusiasts who want to create prints without relying on sunshine. Cyanotype is a photographic printing process that uses a photosensitive solution and UV light to produce distinctive blue-toned images. Traditionally, this process requires exposure to natural sunlight, but with a UV bed, you can achieve the same results in a controlled environment.
Making your own UV box is an accessible DIY project for those interested in cyanotype making. A UV bed typically consists of a box or enclosure fitted with ultraviolet lights. These lights emit the necessary UV rays needed to activate the cyanotype chemicals and create the desired image.
Using a DIY UV box allows you to have greater control over exposure times and eliminates dependence on weather conditions. It also enables you to work indoors or during nighttime when natural sunlight may not be available.
This is how I made my own UV bed.
Equipment
Wooden storage box with hinged lid 40cm x 30cm x 14cm
5m LED UV Flexible Strip Light 385-400nm UV
Tape measure
tape or glue gun
Drill
Step 1
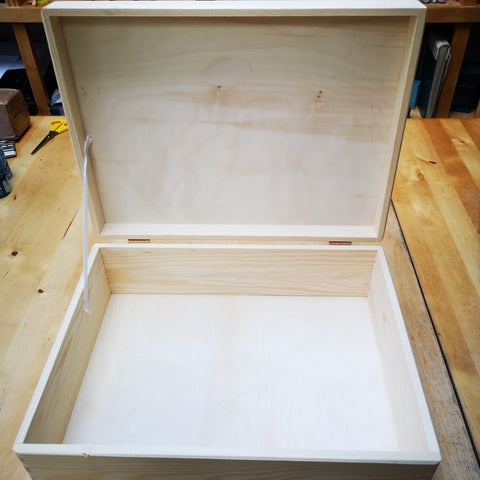
I chose a hinged wooden box but I have seen others use a large plastic storage box. I wanted mine to be quite sturdy and I like a wooden box so it was the right choice for me!
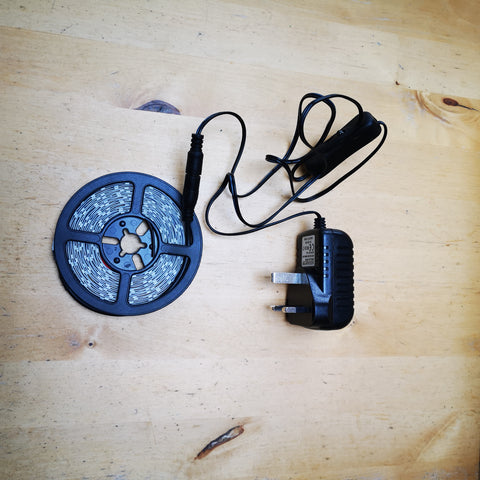
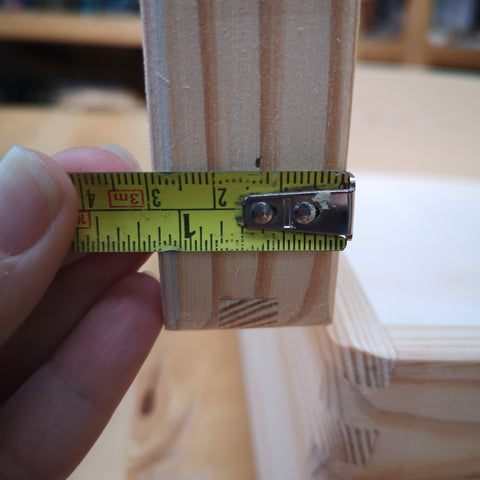
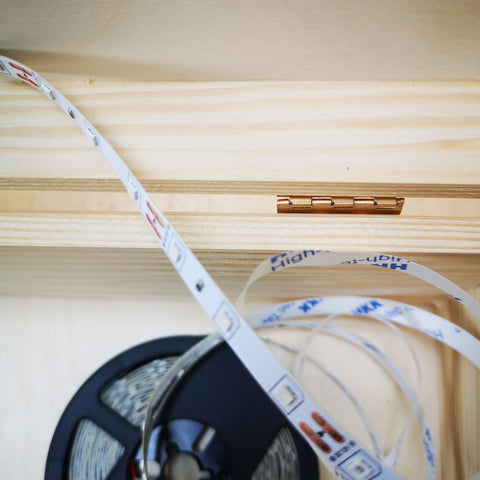
The lights that I needed to install were LED lights with a detachable plug section so I needed to make a hole in the side of the lid to feed this through.
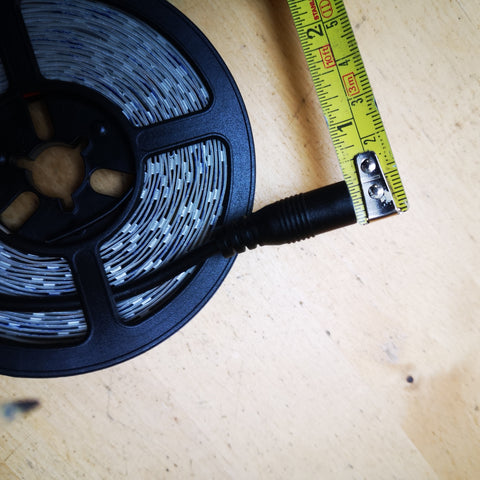
I measured the widest part of the cable and chose a drill bit accordingly.
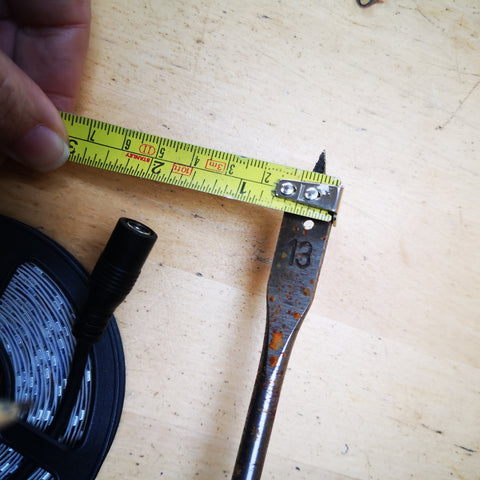
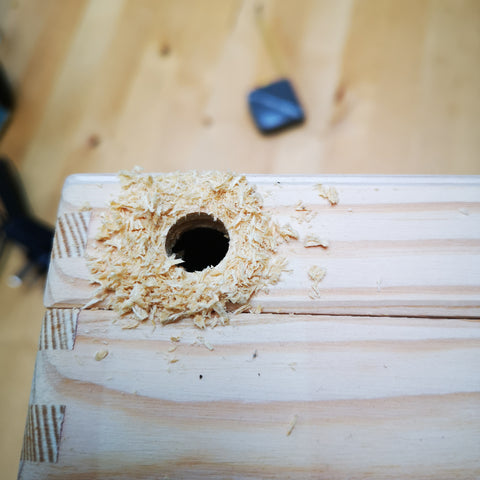
I then adjusted for the thickness of the lid so I didn't damage the top board and drilled a hole at the hinge of the box on the side.
Step 2
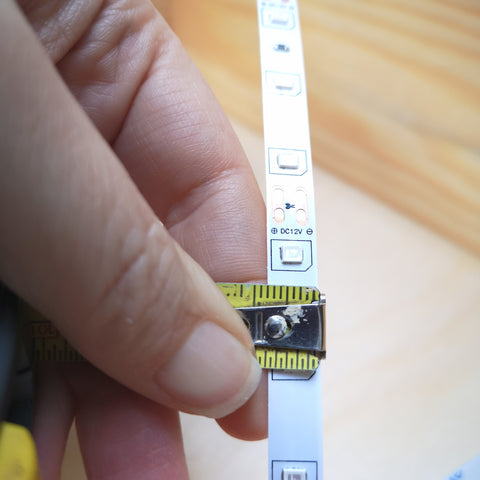
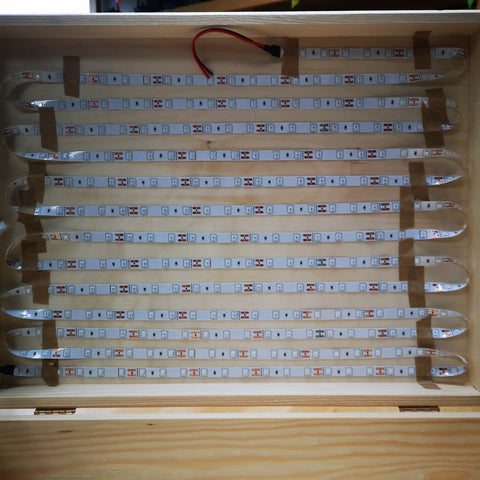
Feed the cable through the hole. When setting up your DIY UV box, it's important to ensure that the light source is evenly distributed across the entire surface area where your prints will be placed. This will help avoid uneven exposure and ensure consistent results. Measure the width and length of the box lid.
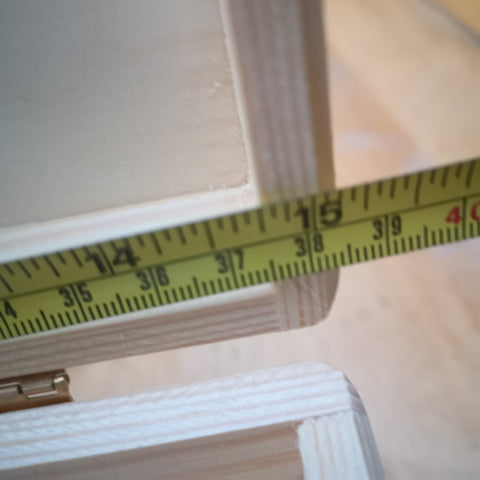
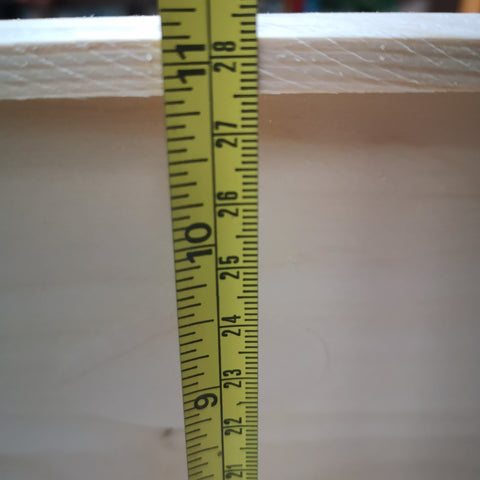
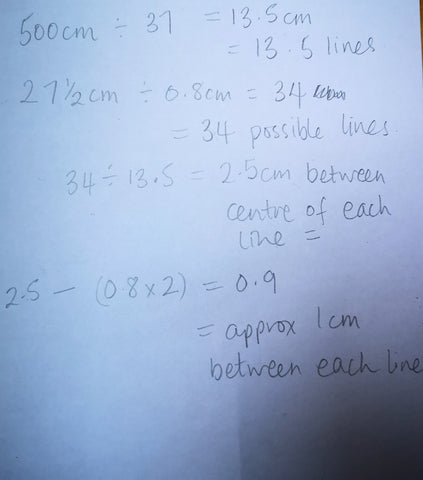
To work out how many times the strip of lights will zigzag back and forth across the box divide 5m by the box length 37cm approx for mine = 13.5 = 13 and a half lines of lights approx. Then measure the width of the light strip.
To work out approx what kind of spacing the lights want to be to be evenly distributed I took the width of the box which was 27.5cm divided it by 0.8cm the width of the strip and that gave me 34 possible lines of indefinite lights but I have 13.5 lines so divided the 34 by 13.5 to see what the spacing from the centre of each strip would be = 2.5 cm in my case. To look at edge to edge spacing which is much easier to judge by eye, or measure if you prefer, I took the 0.8cm strip measurement off this measurement giving me 0.9cm gap between each strip - approx 1 cm.
Hopefully that isn't too confusing!
Step 3
Now all it takes is sticking the strip into position. The lights I bought had a good sticky strip on the reverse so it was just a case of pulling off the cover strip and attaching the lights to the lid at 1cm intervals.
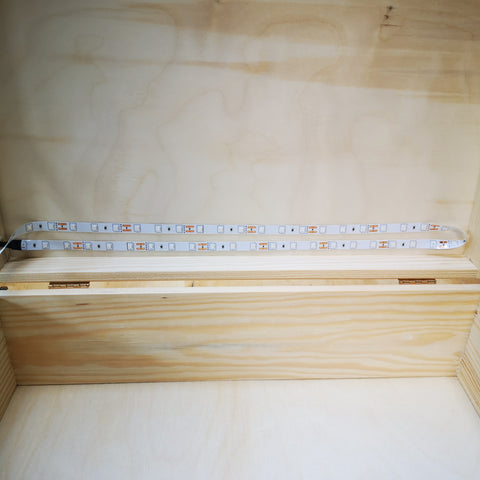
At each line end I needed to carefully bend the lights around on themselves to set off in the opposite direction. I found it easier to bend them in on themselves. It is a little fiddly to stick at the bent end but not too annoying!
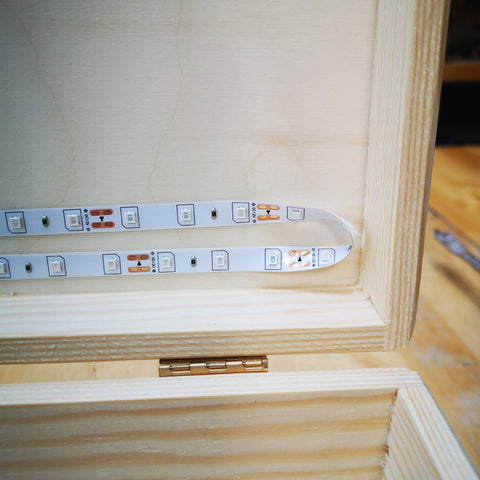
Continue all the way up the box.

Step 4
I noticed near the bent ends the tape was less flat so I used some paper packaging tape to hold it down more flush to the box. Be really careful to avoid sticking it over the LEDs!
I have also seen strips held in place with glue gun glue across the non LED sections if you want to try that.

That's it! The UV bed is complete and ready for use.
Whether you are an artist experimenting with cyanotypes as part of your creative process or simply want to explore alternative printing methods, having access to a UV bed expands your possibilities. With this tool at hand, you can enjoy creating cyanotypes without relying solely on sunshine.
To use the UV bed for cyanotype making, simply place your prepared cyanotype-coated paper or fabric onto the surface of the bed. Make sure it is positioned securely and flatly to prevent any movement during exposure.
Once you have positioned your materials on the bed, switch on the UV lights and set an appropriate exposure time based on factors such as paper/fabric thickness and desired level of detail. It may require some trial and error to determine the optimal exposure time for your specific setup.
I have really enjoyed experimenting with the UV box this week. If you want to see some of my experiments take a look at my Instagram feed
fernando
Jun 29, 2026
Hi! I tried to open the link posted here to see what kind of UV led you had used and did not work. I bought a led of 420 nm, which one are you using for cyanotype?