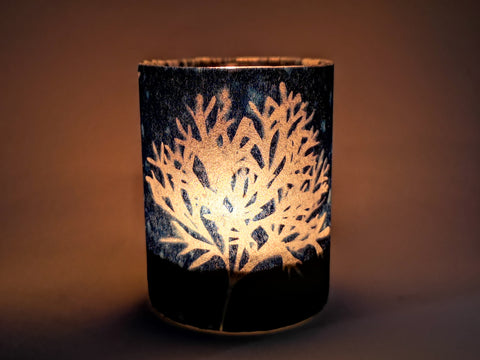
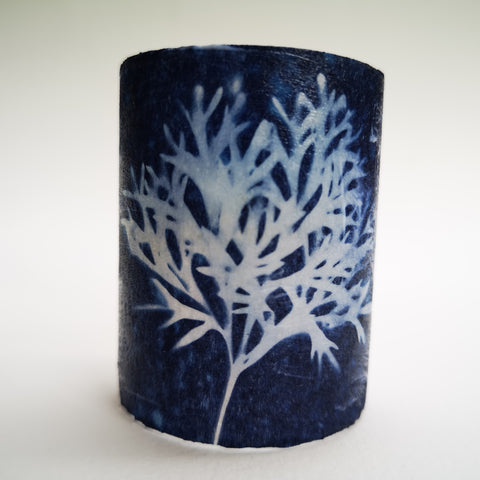
The evenings are drawing in and we are wanting to make our homes more cosy so here is the perfect easy project to do just that. How to make a beautiful tealight holder using teabag paper cyanotypes. This method would be just as effective with other prints on teabag paper such as gelli prints or botanical prints, all of which I have written separate blog posts for. The reason teabag paper is a good choice for this project is that it is strong and will take all sorts of manipulating whilst damp and with glue it becomes more transparent. These night lights were made with the thicker teabag paper but I intend on trying it out with the thin too as I think the layering possibilities with that will make a beautiful result. Both thicknesses can be found in my shop here.
How to Make a Decorated Tealight Holder
Step 1
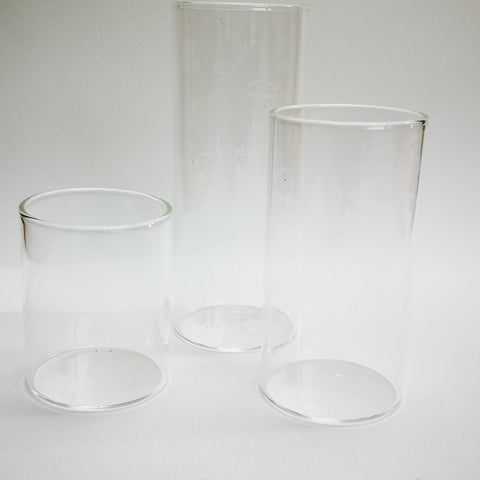
You can buy tealight holders or you can recycle some you already have. Either way they will give the best results if they are plain glass and if the sides are completely straight. Sloped sides will need much more fiddling to cut to the paper to the right size and shape. I chose straight sided glass holders I bought online. A jam jar will do the job just as well.
Step 2
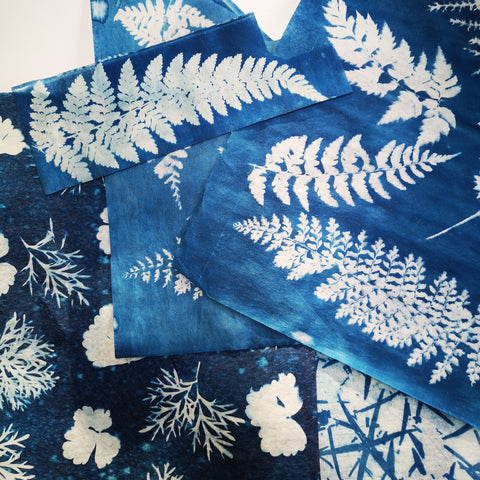
Gather teabag paper cyanotype prints that you may want to use from a previous stash or make some specially. In the autumn and winter months it can be trickier as you're at the mercy of the weather but it is possible to do with a uv bulb or with a uv nail light for smaller ones. If you want to know how to make cyanotype prints on teabag paper you can find my earlier blog post explaining how here.

You will also need some scissors, a clear drying hard wearing glue suitable for use on glass and paper, I used some old Mod Podge that I had hanging around. A brush , ruler and pencil will also be needed.
Step 3
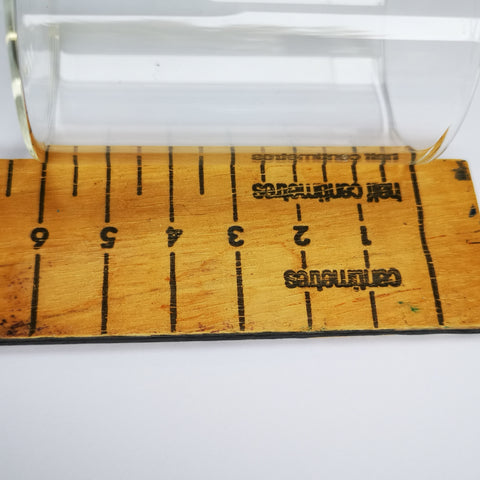
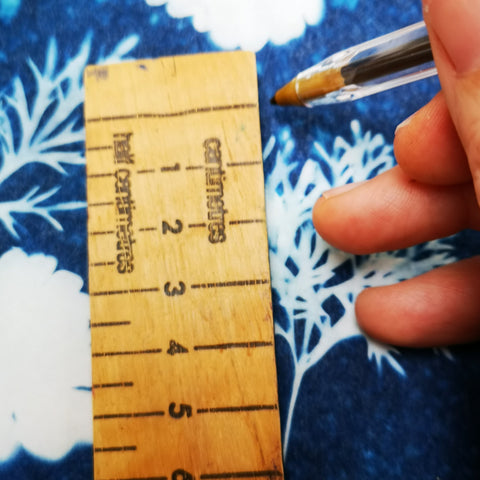
Measure the height of your container, choose the cyanotype you wish to use and pick out a section you feel will look good as your design. Then mark out a band measuring the height of your container across the cyanotype. In my case it was 6cm high.
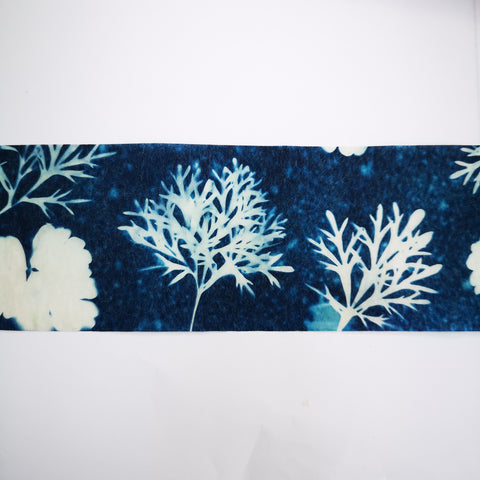
Then cut the strip out.
Step 4

You could work out the length of the strip you need by doing a fancy equation involving diameter of a circle to find the circumference measurement but I prefer to go by eye and just wrap the paper around my container to see where I need to trim the paper. Make a little mark and then cut it to size.
Step 5
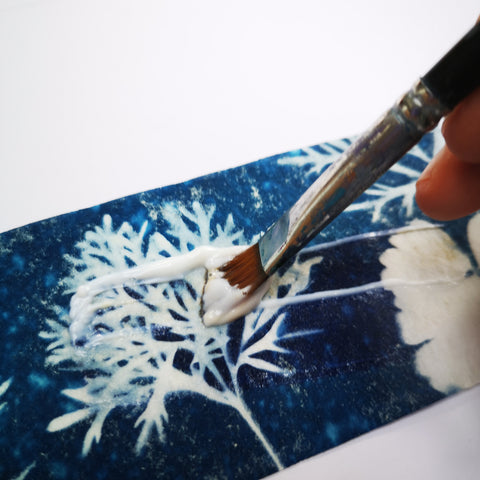
Using a brush spread glue on the reverse of the strip and then lay the tealight holder on top.
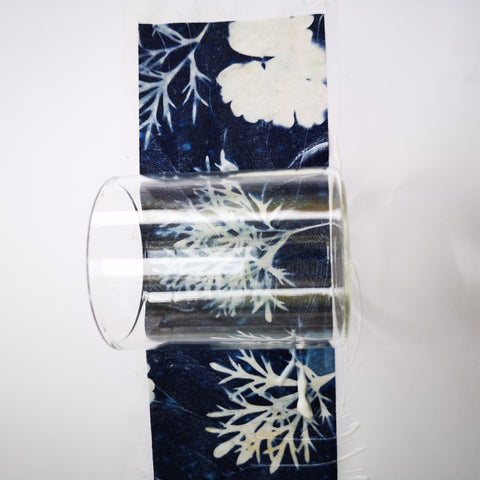
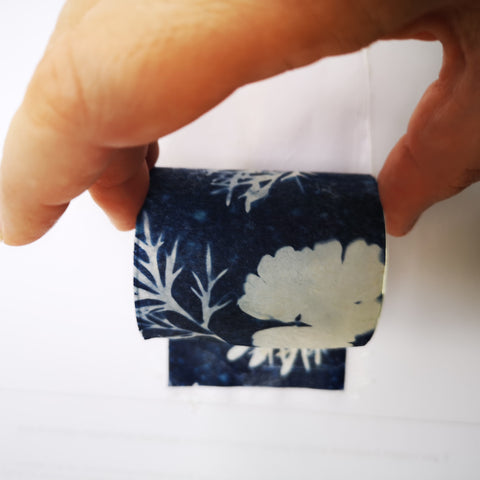
Wrap the paper around and smooth on to the surface. Coat in another layer of glue on the outer surface and allow to dry. Wipe any excess glue from any surfaces where it shouldn't be. Wash out your brush now too! You can coat in another layer once it's dry to make it a little more robust.
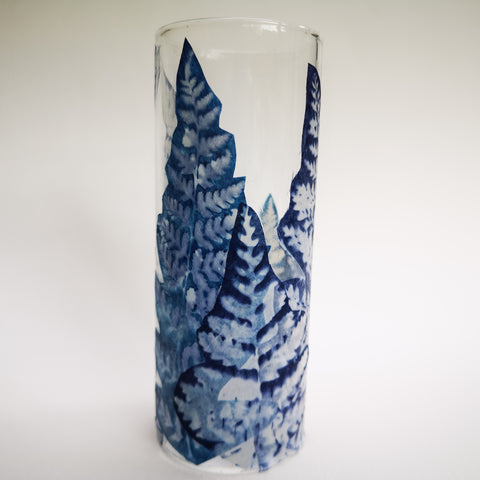
How To Create A Layered Cyanotype Tealight Holder
Step 1
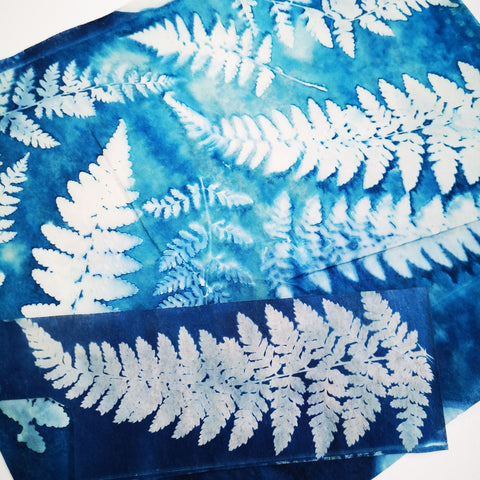
Gather teabag paper cyanotypes for layering. A range of sizes in the images gathered will help create interest. I chose a range of ferns.

Cut around the chosen images.
Step 2

I lined my images up roughly to work out approximate placings and trimmed those a little too big to the correct length. As before glue the reverse side of the images and place those that you want at the back of the design first and those for the front of the design last.
Step 3
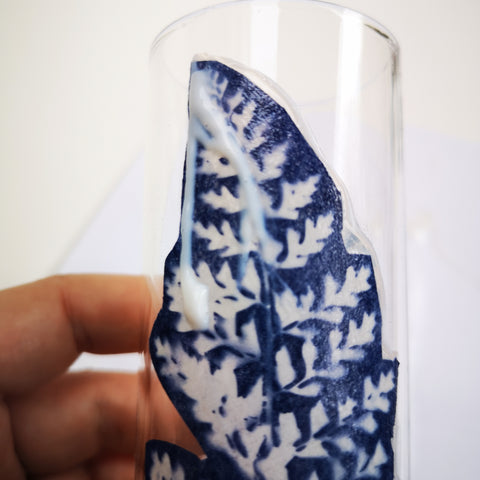
Once all the pieces are on the surface, seal with a layer of glue with a thin layer on the glass at the edges. Whilst the glue is still wet wipe any excess away from the glass with a slightly damp tissue. Allow to dry and give another coat to make it more robust.

If you would like to try your hand at making a decorated tealight holder using teabag paper you can find it in my shop here.