
In my art work I use a range of different media and techniques. One of my favourite techniques is making my own rubber stamps to create quick patterns or textures to print, over print or embellish. I'm generally quite impatient and like to see results fairly quickly and this way of working allows me to do just that. Making your own rubber stamps is easy and needs only a few simple pieces of equipment.
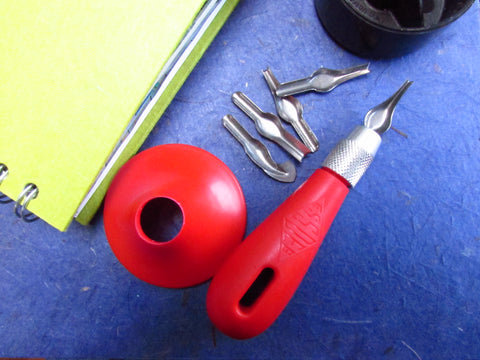
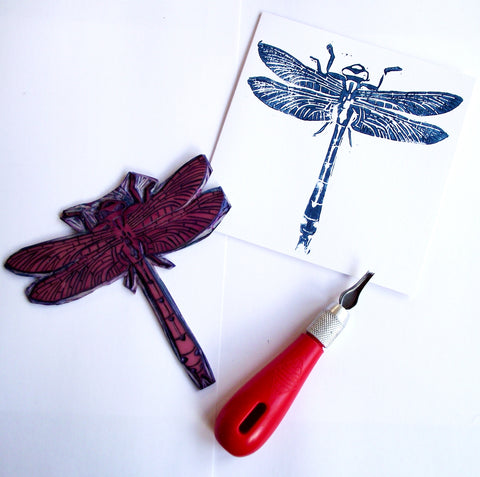
Cheap lino cutting tools are fine for the job, the rubber is so soft and so these are quite adequate. This set is found in all good art stores and online shops. Some people like to use a craft knife but I find fine details are much trickier to achieve.
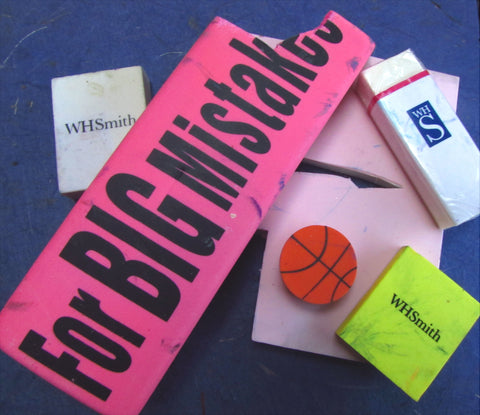
A wide selection of rubbers, nothing too pricey. Different shapes are good, I particularly like the novelty ball shaped ones! Stamping rubber is also available to buy. It is lovely to work with and it cuts like a hot knife through butter but it costs a lot in comparison. Shop about and see what you can find.

The stamping pads I use are nothing fancy, just a cheap bundle of 20 colours off the internet with a couple of others thrown in for variety! Because I like to print using colours blended together on the stamp blocks I figure spending a lot is not worth it.

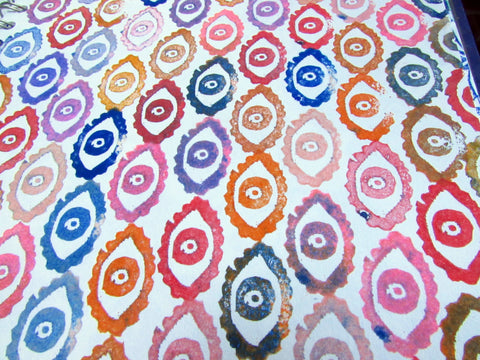
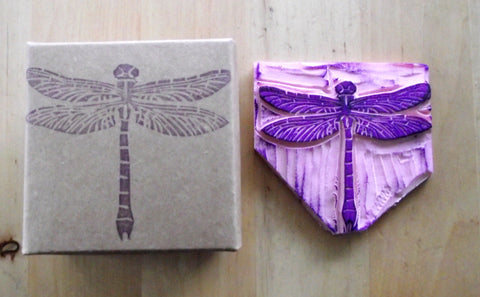
Creating a stamp is simple, once you have chosen a design sketch it out in pencil on to the eraser (1). With symmetrical designs like the one above I draw half on a piece of paper and use the school learnt trick of going over the lines on the reverse to transfer the image to the rubber (2). Carving the rubber is next and this needs to be done with the correct cutting tool, fine blade for fine detail and wider for larger areas. Always work away from you with your other hand out of slipping distance as it really hurts if you slip off and stab yourself! Remember, anything carved out will be negative space and will not be printed (3). Finally, you can print with your block, don't over ink otherwise the edges will not be clean (4).
Once you have learnt these basics you can do anything!
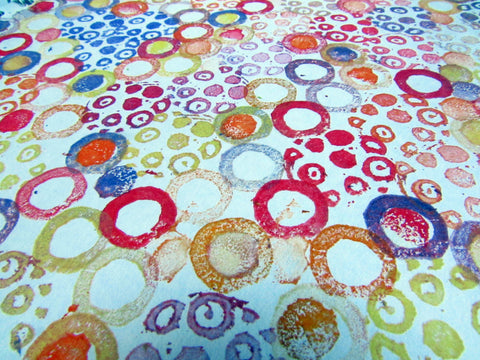
Bold designs
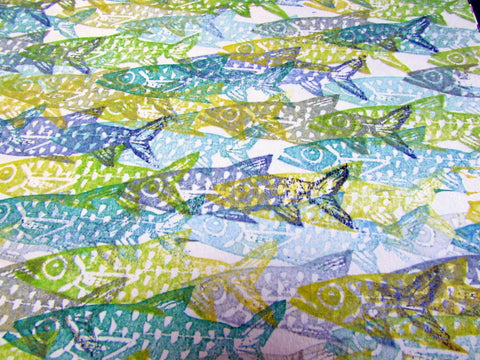
Over printing works well
Modular designs using more than one stamp
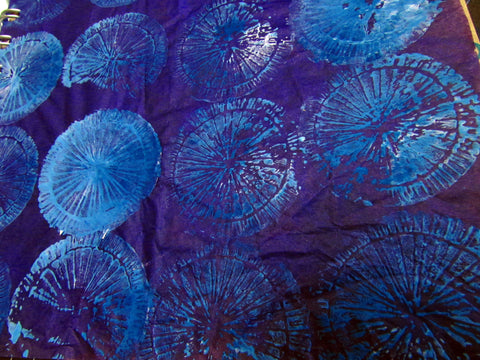
Try printing with acrylic paint for a more distressed look.
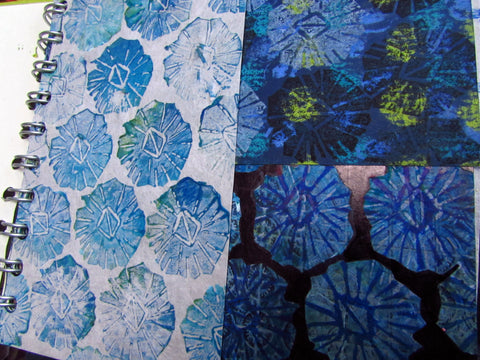
Print on different papers or over surfaces you have prepared with different media.
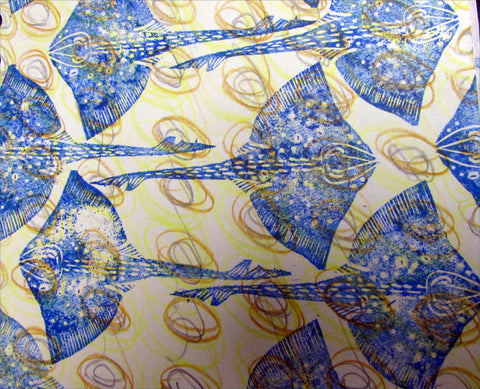
Detailed designs.
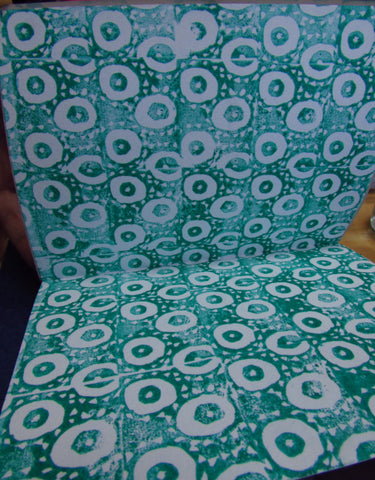
Use your blocks to create fancy end papers for notebooks.
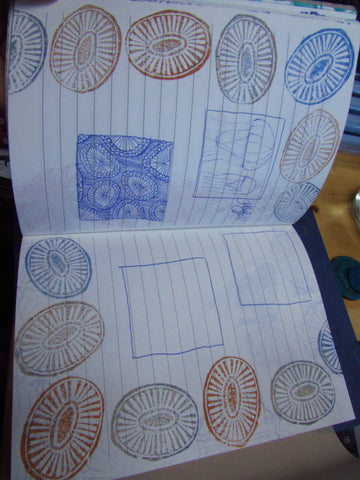
Or to pimp up your notebook pages.
Use on packaging.
And then progress to easy cut lino for larger prints.
Have fun and keep an eye out for my instagram feed @nimanoma where I post lots of my work.
https://www.instagram.com/nimanoma/
Do leave a comment and let me know what you have used your handmade blocks for.