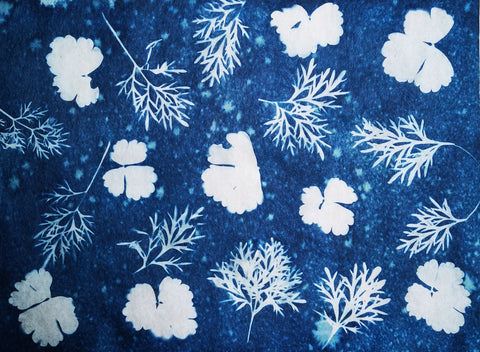
One of the main projects I had in mind for the tea bag paper was cyanotype printing. Those of you who have followed my work on Facebook or Instagram will have seen previous cyanotypes I have made over the last year or so. I have created prints on a range of papers and fabric with varying success. Some papers are brilliant for showing detail in the prints whilst others have a less defined edge to the images. Unfortunately though, some of the papers that develop the best image quality disintegrate at the rinsing stage.
For those of not aware of the cyanotype process let me explain. In cyanotype printing two chemicals, potassium ferricyanide and ferric ammonium citrate are mixed together with water. These two chemicals when mixed create a photosensitive liquid, that is it is light sensitive. When painted onto paper it effectively creates a photography plate. Items can be laid on the surface of the plate and then it is exposed to UV light either in the form of a light bulb or sunshine. Those areas of the plate exposed to the sun react and turn a brown colour whereas those areas hidden from view remain unreacted. A final rinse in a water bath will set the print by rinsing the unreacted chemicals away and leaving the image of the item laid on it's surface in the remaining chemical which after rinsing is a gorgeous cobalt blue.
Making cyanotypes with tea bag paper
Step1
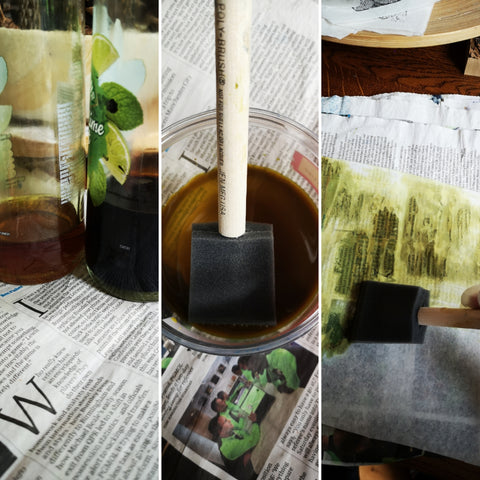
Add equal amounts of the potassium ferricyanide and ferric ammonium citrate solutions together in a pot and mix. Apply to sheets of tea bag paper with a sponge or brush. Leave in a dark place to dry such as a cardboard box or between the pages of an old newspaper so no UV light can reach them.
Step 2
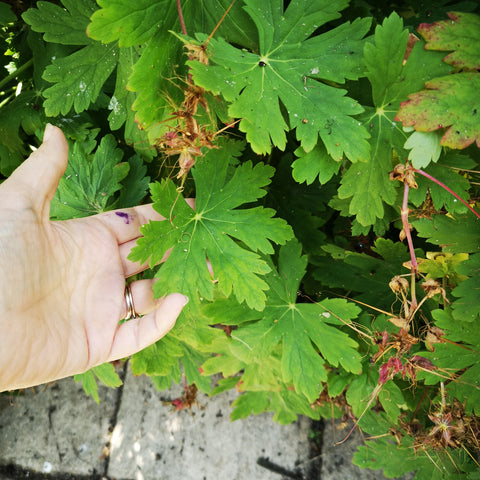
Choose leaves you'd like to make your print with, something with a distinctive outline works best such as geranium leaves or ferns.
Step 3
Use a sturdy piece of cardboard as a base, lay the dry cyanotype paper on it and working quite quickly lay out the leaves etc on the surface.
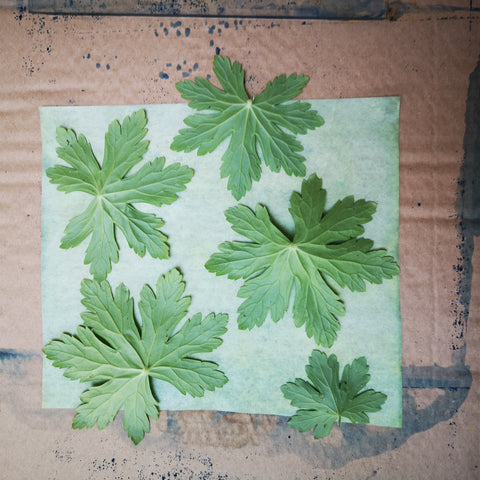
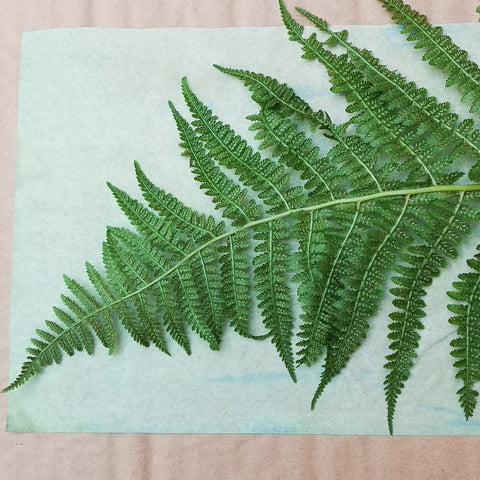
Hold in place with a piece of plain glass or perspex. Just a pieces from an old photo or picture frame will do. This stops the image from being distorted by items moving whilst the paper reacts. Place on a sunny windowsill or patio but be sure nothing will cast additional shadows on the paper.
Before placing the glass on my geranium print I added a squirt of water and some soap bubbles.
Step 4
Leave to develop in the sun until the paper changes from a pale green/yellow colour to a brown. Make sure it is dry. This can take a variable amount of time depending on a range of factors such as the weather conditions, on a sunny bright day developing time won't take very long on a dry cyanotype, maybe just a few minutes but on a more overcast day it could be hours. Wet cyanotypes can take a bit longer too to dry. I sometimes bring them in and dry them off with a hairdryer in a room with low light.


Step 5

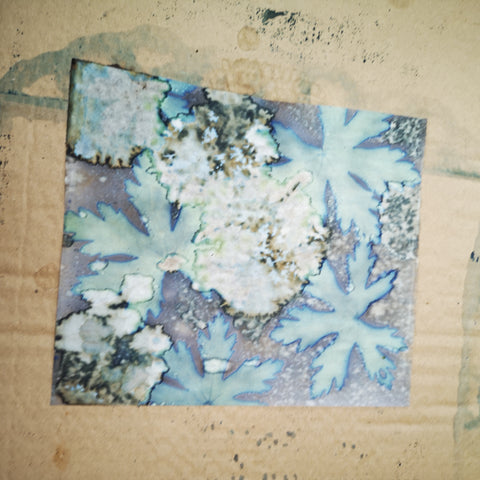

Once developed remove all leaves etc from the surface and rinse. Normally at this stage I would gently rinse them in a water bath but the tea bag paper is really strong and sturdy so a rinse under a running tap is possible.
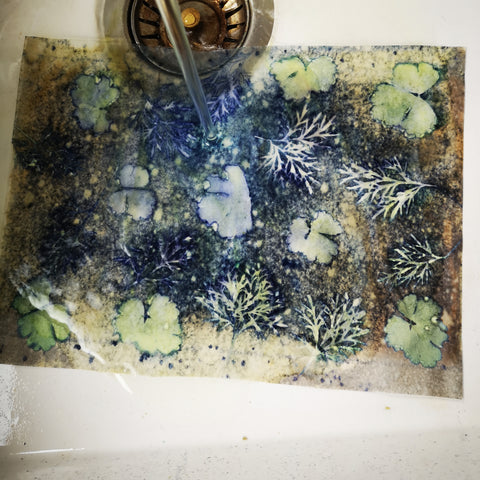
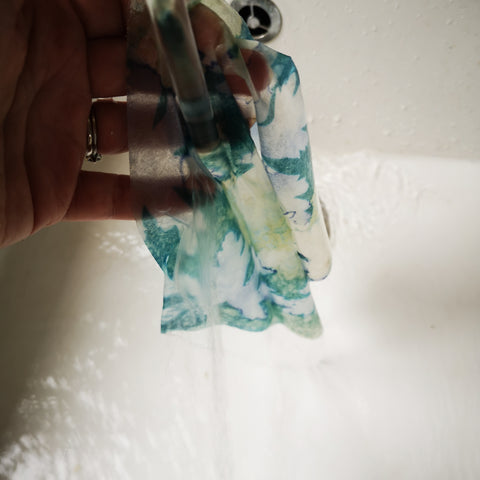
Rinse until water runs clear.
Step 6
Allow the prints to dry, the colour usually deepens a bit further. the paper can be used in collages, to bind books, as a print in it's own right to sew into.

Final verdict and lessons learnt


The tea bag paper is absorbent so the cyanotype chemicals soak right through which means after exposure and rinsing the image can be seen on both sides of the paper. The big benefit is the rinsing, no fragility to the tea bag paper means you can literally wring it out if you like! The smooth surface of the paper meant that the images are crisp and clean. A big success!
If you want to have a go at something similar or have ideas of how tea bag paper could be used in your own projects then you can find it here in my online shop.
